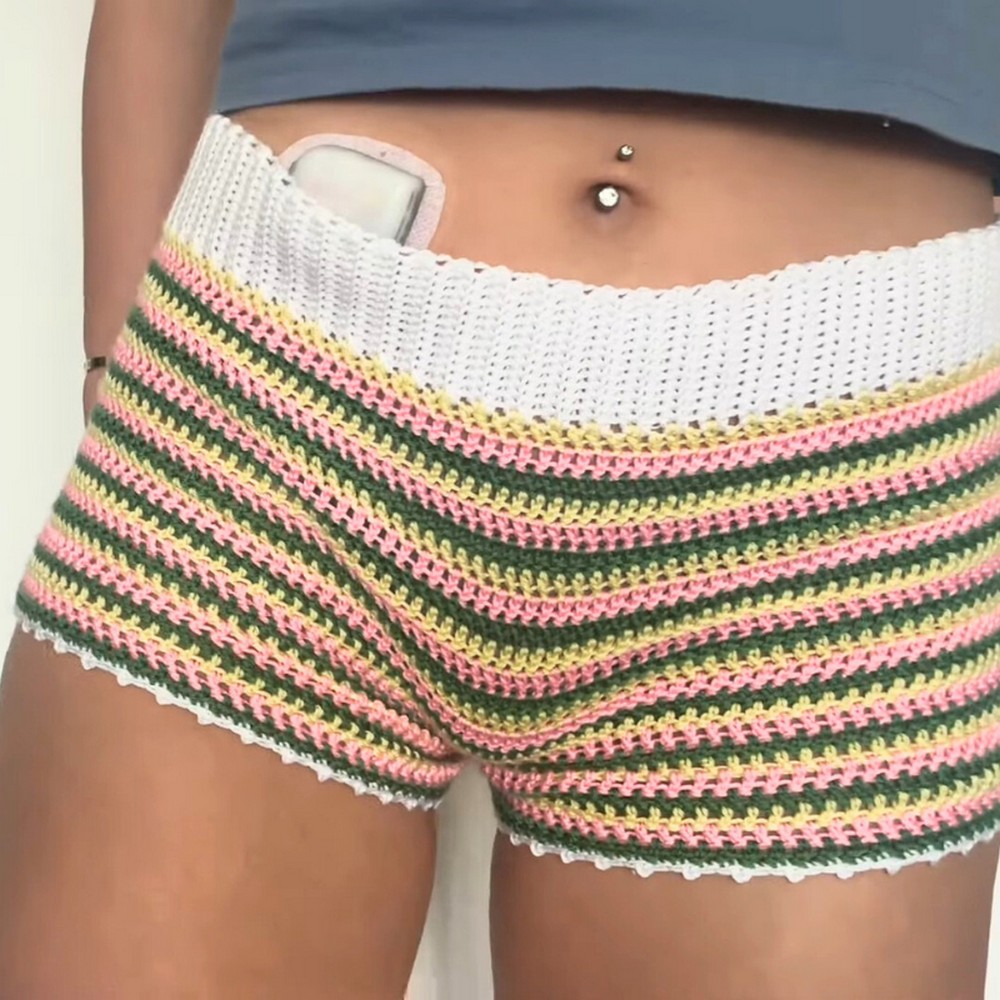
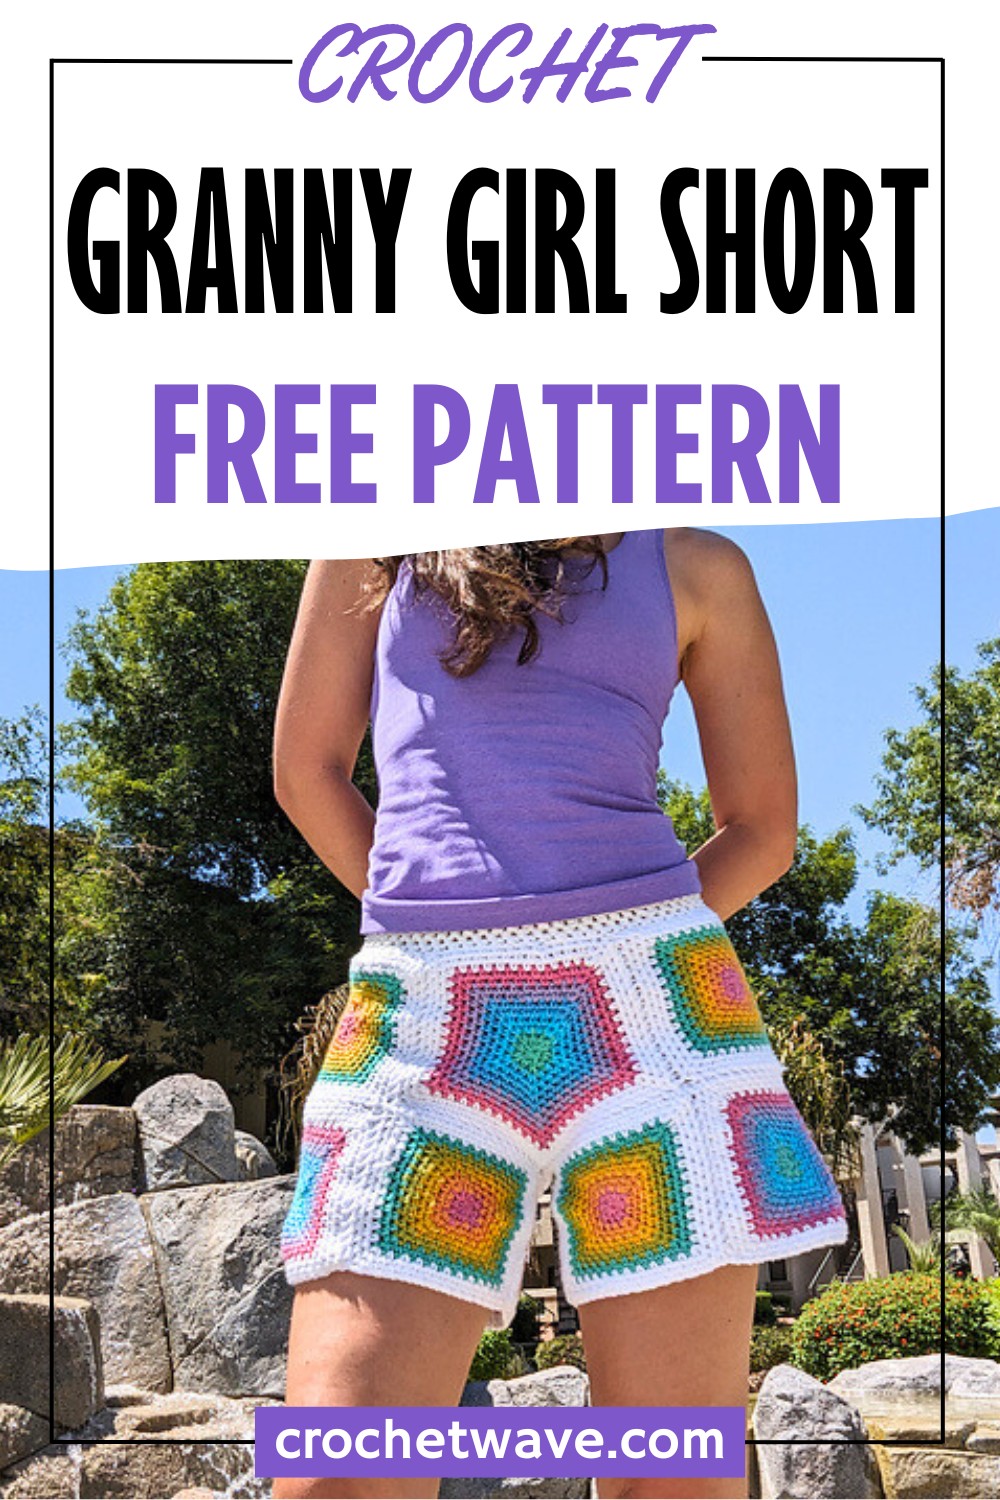
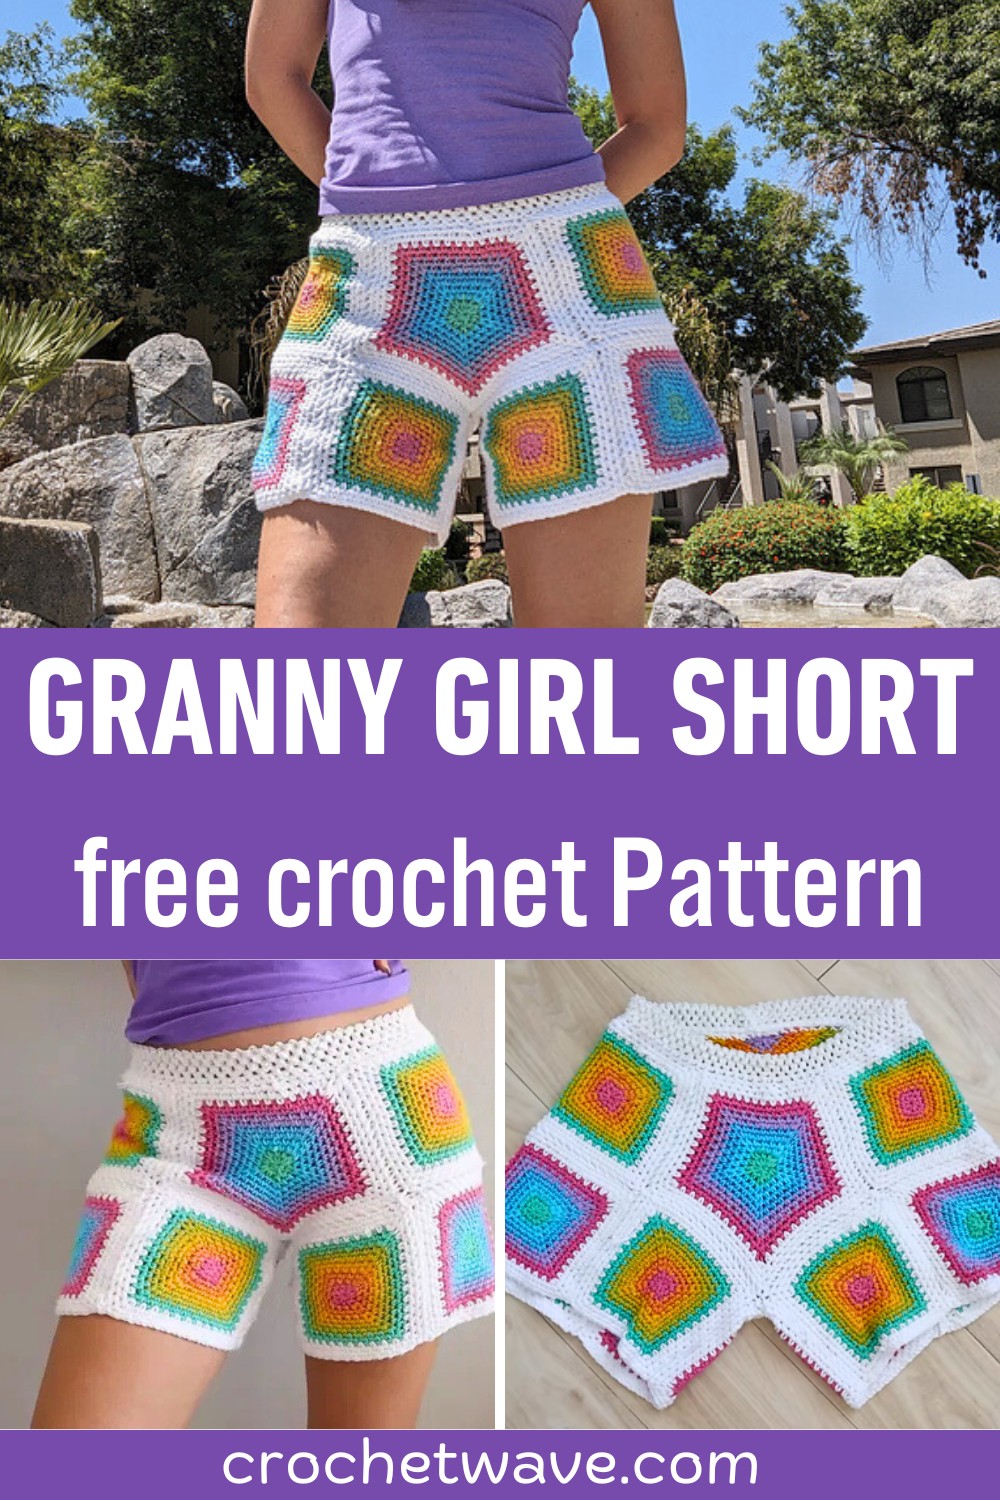
Crochet Granny Girl Shorts Pattern – Step By Step
Introducing the Crochet Granny Square Shorts—a vibrant and stylish addition to your handmade wardrobe! These shorts stand out with their unique construction, featuring a beautiful arrangement of linen stitch granny squares.
The playful use of colors and the clever design make these shorts not only a delight to create but also an eye-catching piece that adds a touch of creativity and flair to any outfit. Inspired by the joy of combining different crochet motifs, these shorts transform traditional granny squares into a modern, wearable art form.
Crochet Granny Girl Shorts
This pattern is as versatile as it is appealing, making it perfect for both beginners looking for a fun challenge and seasoned crocheters seeking a refreshing project. The Crochet Granny Square Shorts are great for a range of occasions—from lounging by the poolside in summer to being a statement piece at a casual gathering.
The process of creating these shorts will bring immense satisfaction and a sense of accomplishment, as you watch the colorful motifs come together in a wearable masterpiece.
Step By Step Pattern
Materials Needed:
- Yarn: Yarn B Sugarwheel Cotton in the colorway “Sprinkles on Top” from Hobby Lobby (or any similar 3-weight color-changing cotton yarn).
- Crochet Hook: 5.5 mm hook.
- Elastic: 2.5-inch elastic ribbon (often called crochet headband ribbon).
- Scissors.
- Tapestry needle for weaving in ends.
- Optional: Additional yarn for borders or alternative waistband options.
Techniques Used:
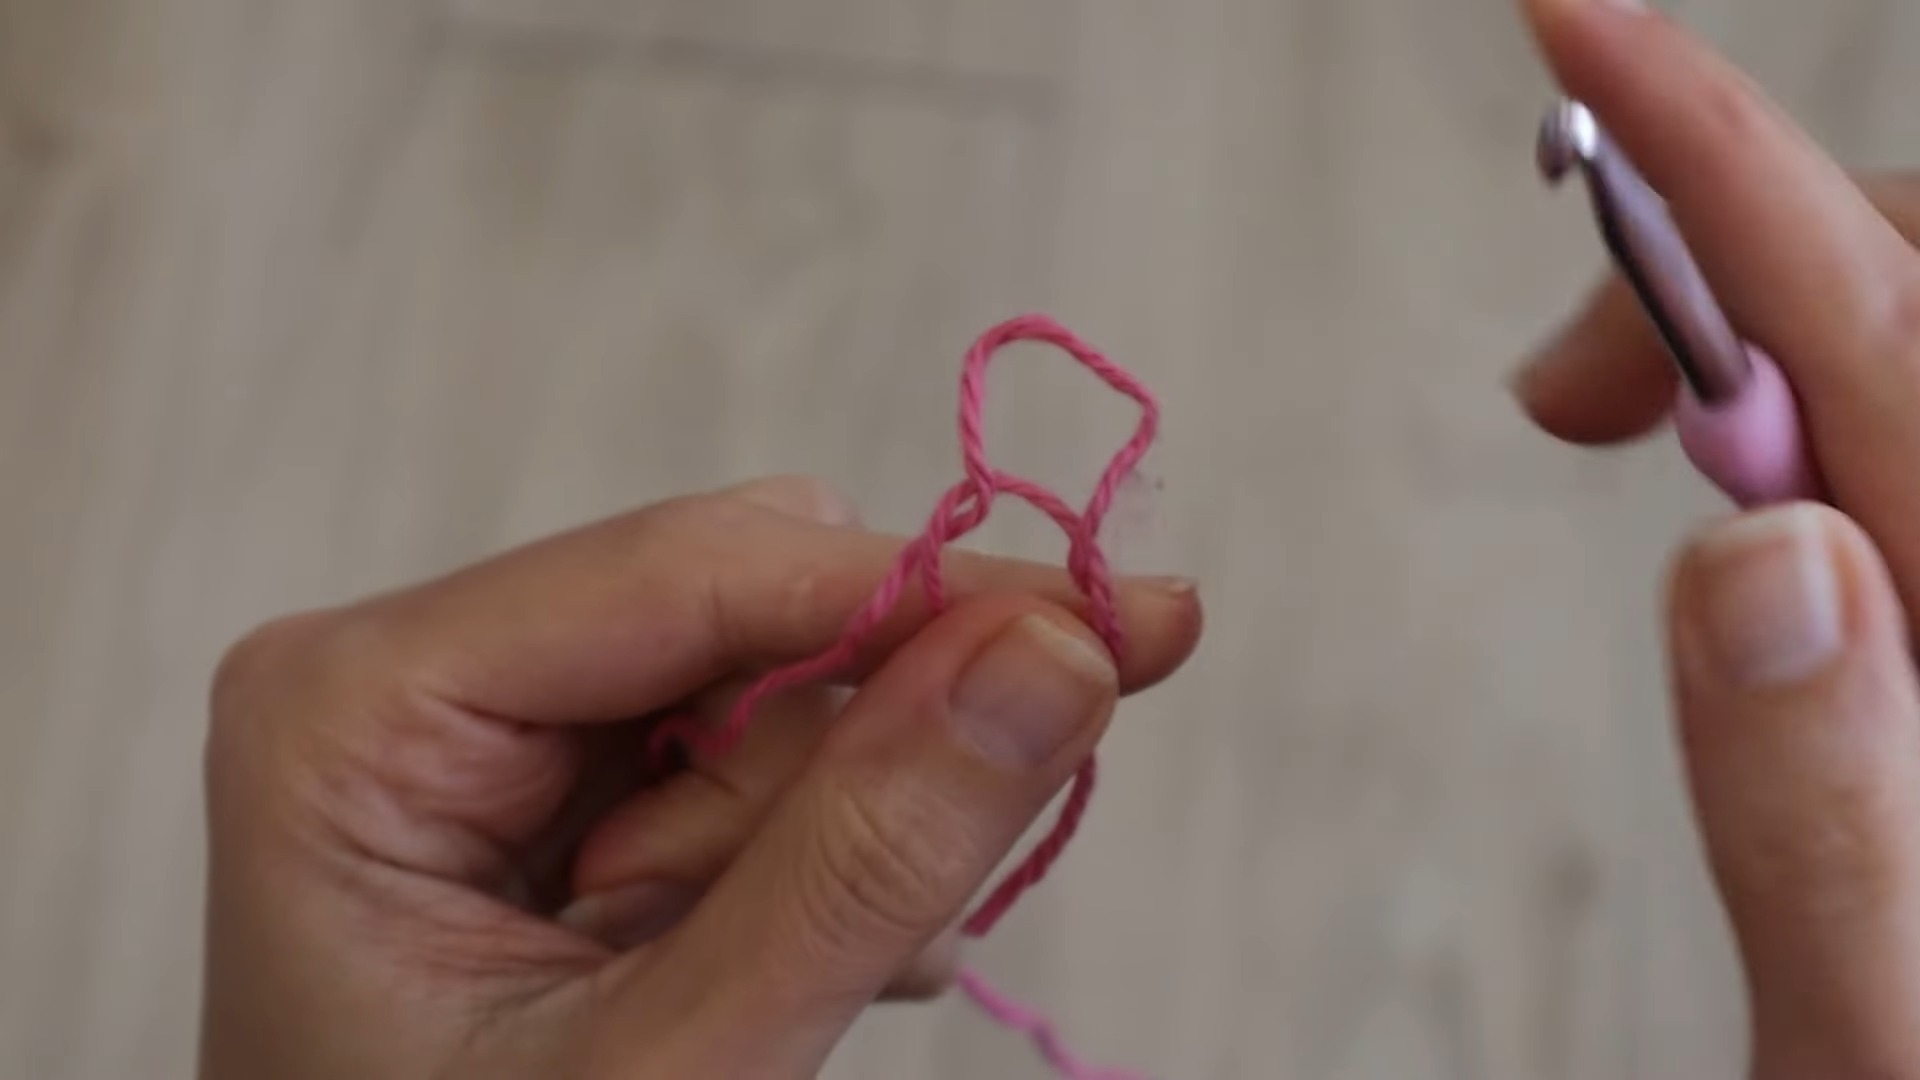
- Magic Circle
- Single Crochet (SC)
- Chain Stitch (CH)
- Slip Stitch (SLST)
- Linen Stitch using single crochets and chain spaces
- Color changing methods
- Crochet join for seaming squares

Detailed Instructions
Creating the Linen Stitch Granny Square
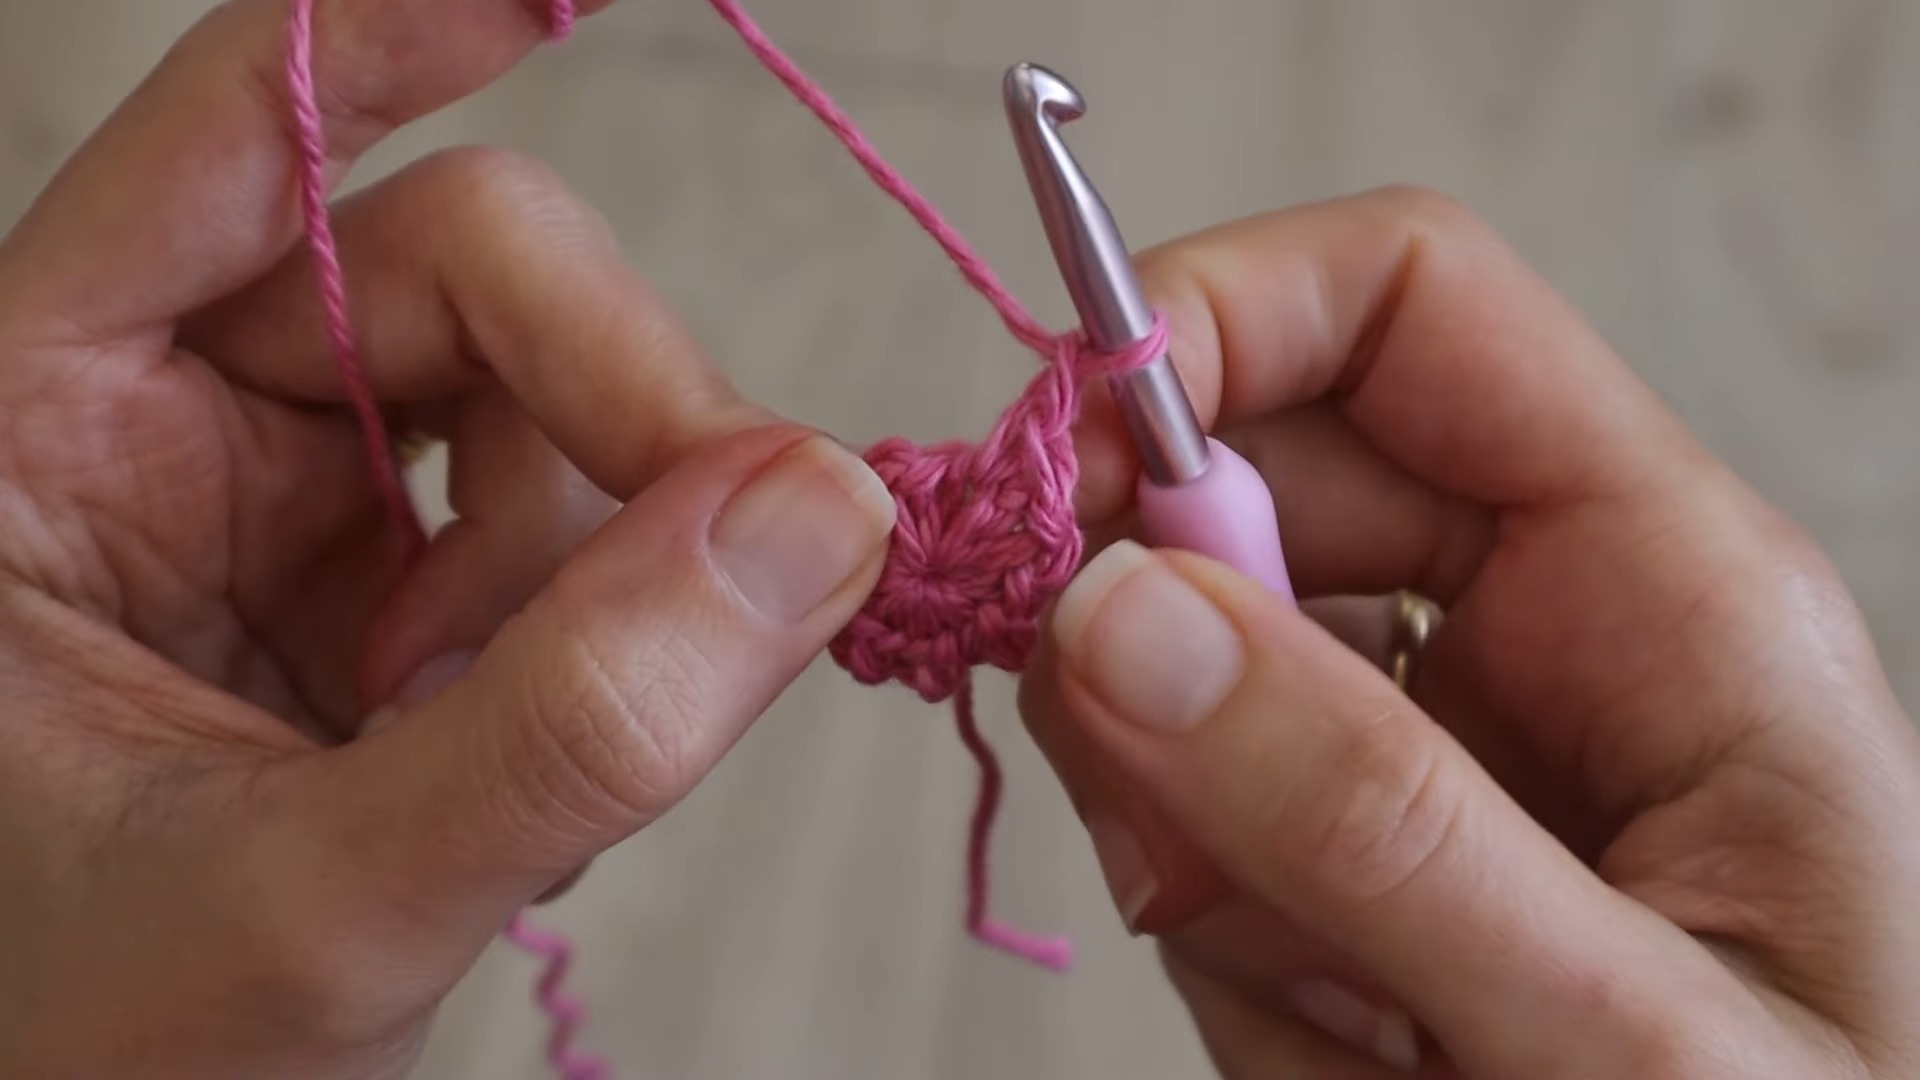
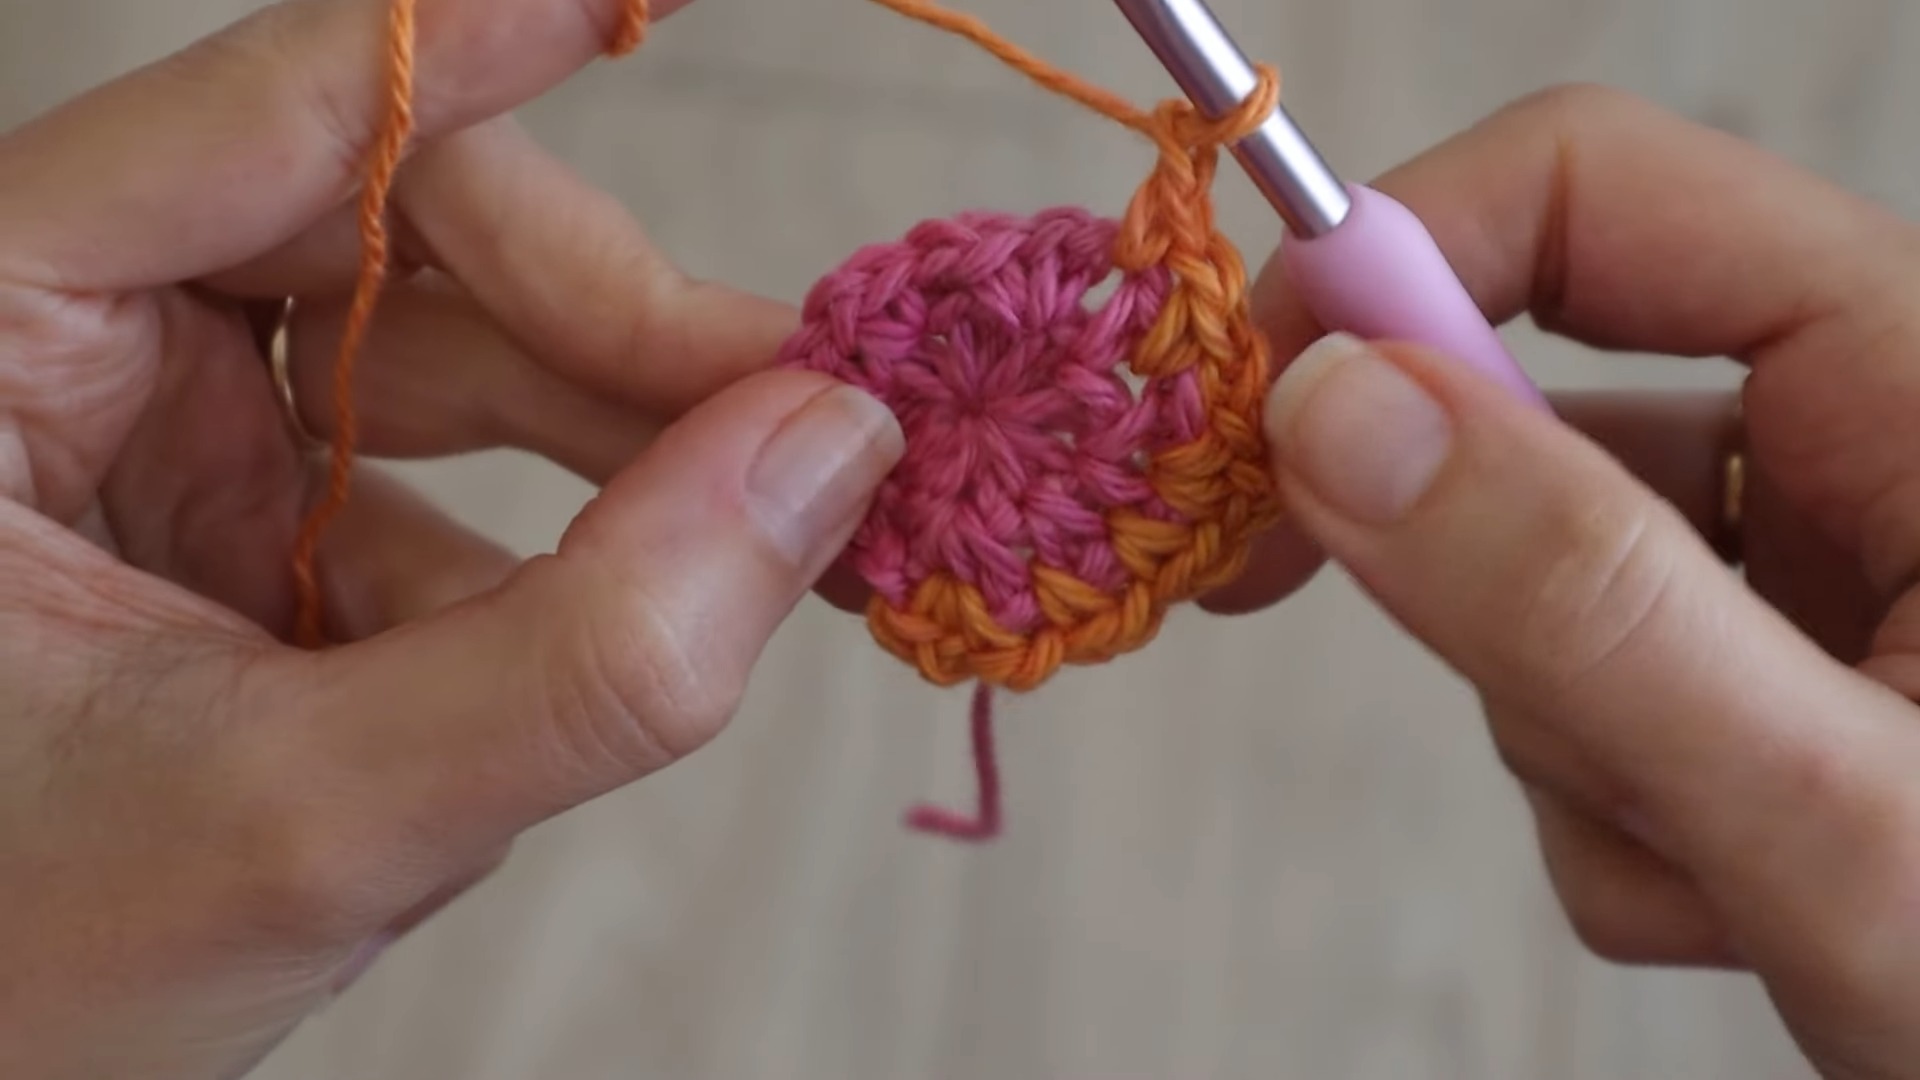
- Round 1:
- Start with a magic circle.
-
- CH 1 to secure and make 8 SC into the circle, each followed by a CH 1.
- Close the circle with a SLST into the first SC.
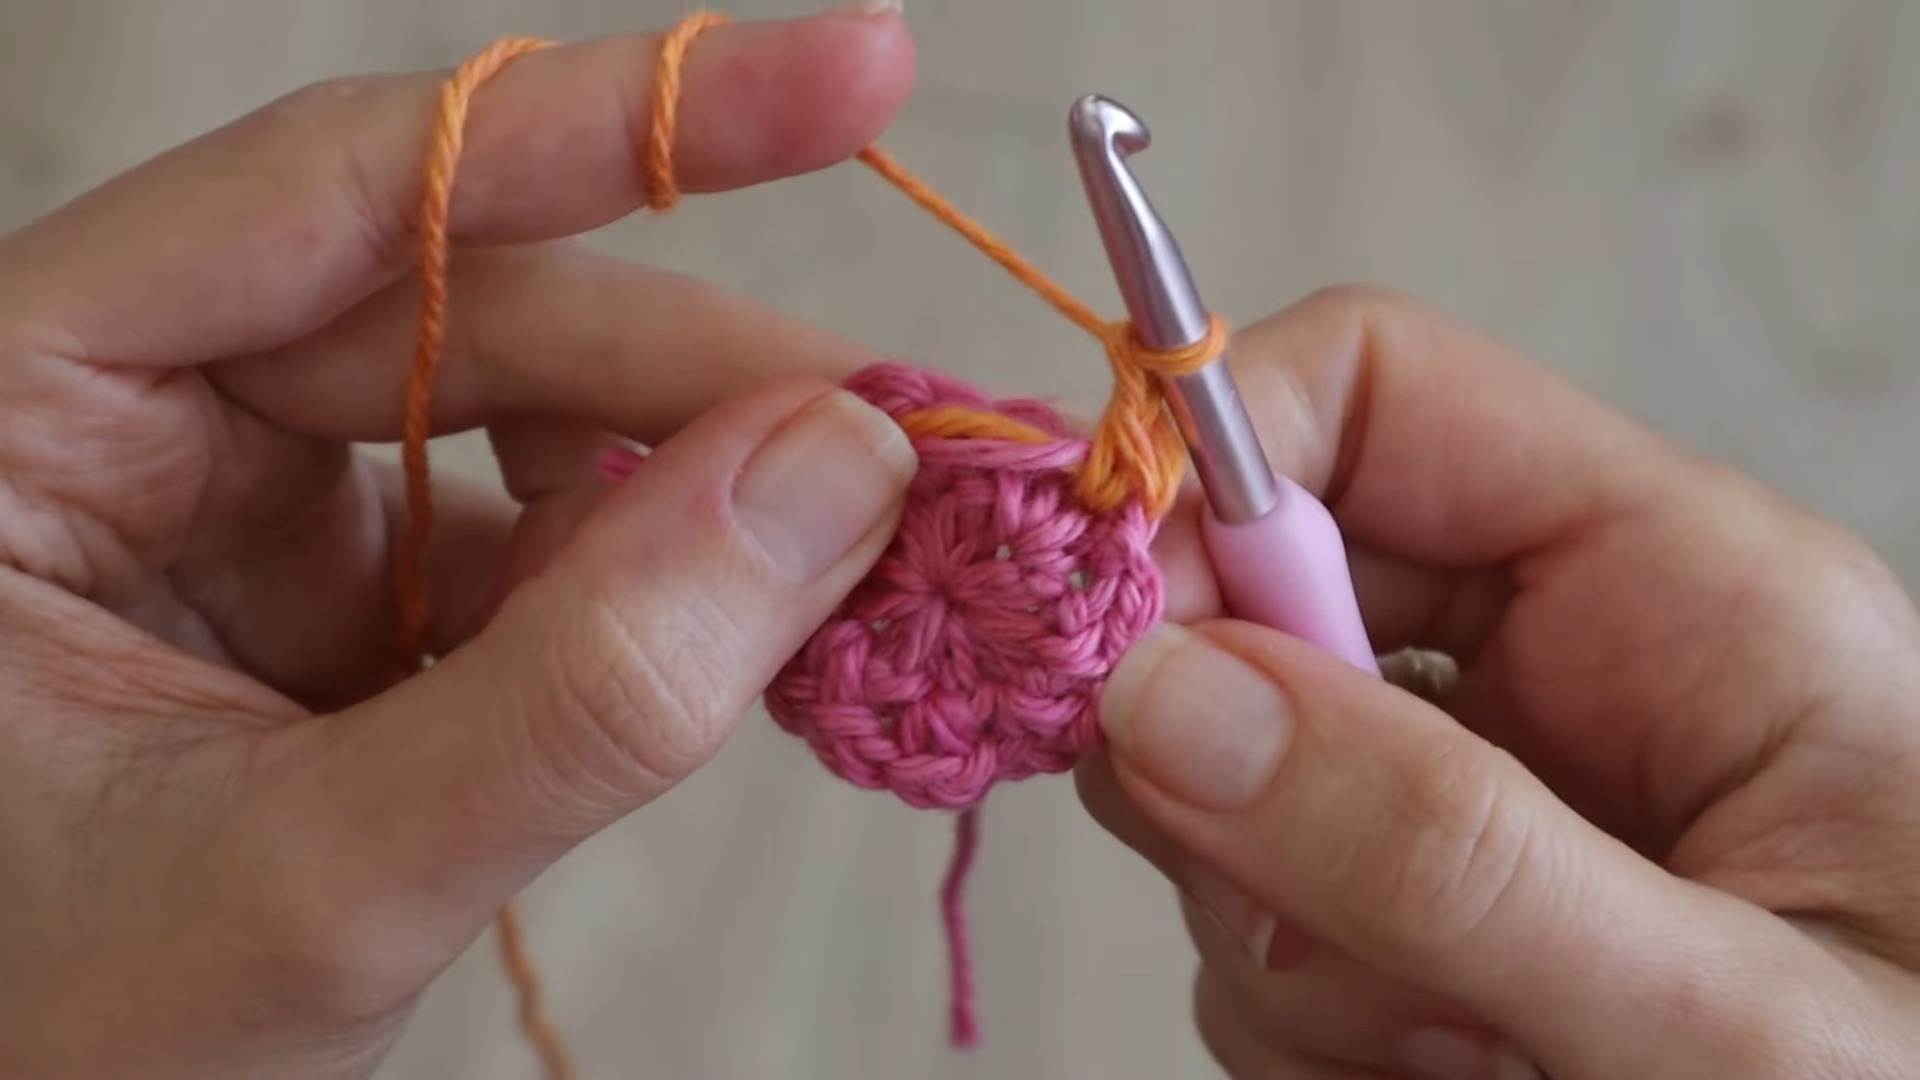
- Round 2:
- Continue with the same color. SLST into the first CH space.
-
- SC into the CH space, CH 1, SC into the same CH space (this forms a corner).
-
- SC into the next CH space, CH 1, and repeat this sequence to form corners at every alternate CH space.
- Complete the round with a SLST.

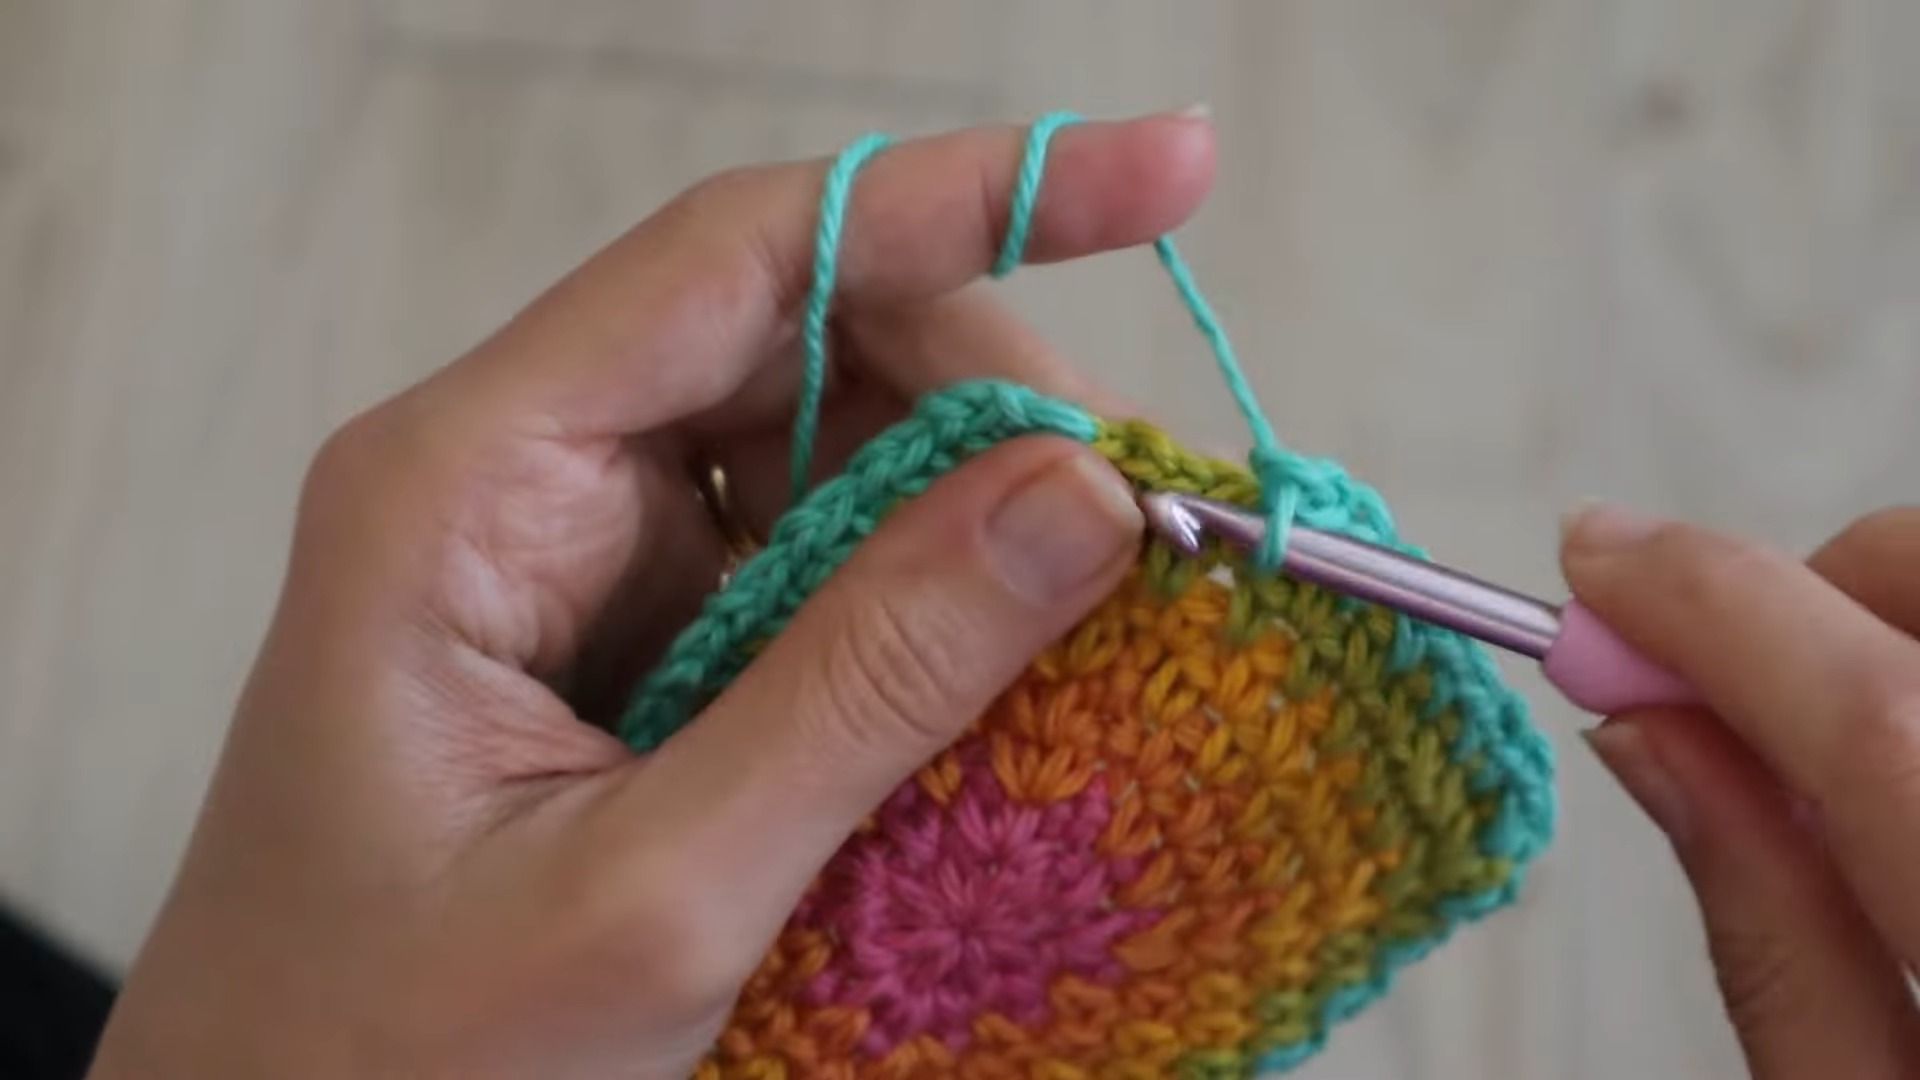
- Round 3 and Beyond (changing colors every two rounds):
- Pull through the new color on the live loop.
- Repeat the pattern for round two, adding extra SC+CH 1 stitches between corners as the square grows (two SC+CH 1 stitches between corners on round three and increasing each round accordingly).
- Continue for 10 rounds in varied colors and add three additional rounds in the joining color.
Creating the Pentagon and Triangle
- Pentagon:
- Similar to the square but start with 10 SC and CH 1 instead of 8.
- Triangle:
- Start with a magic circle with 6 SC without a final CH 1.
- Turn work each row and follow similar patterns, considering the triangle shape.
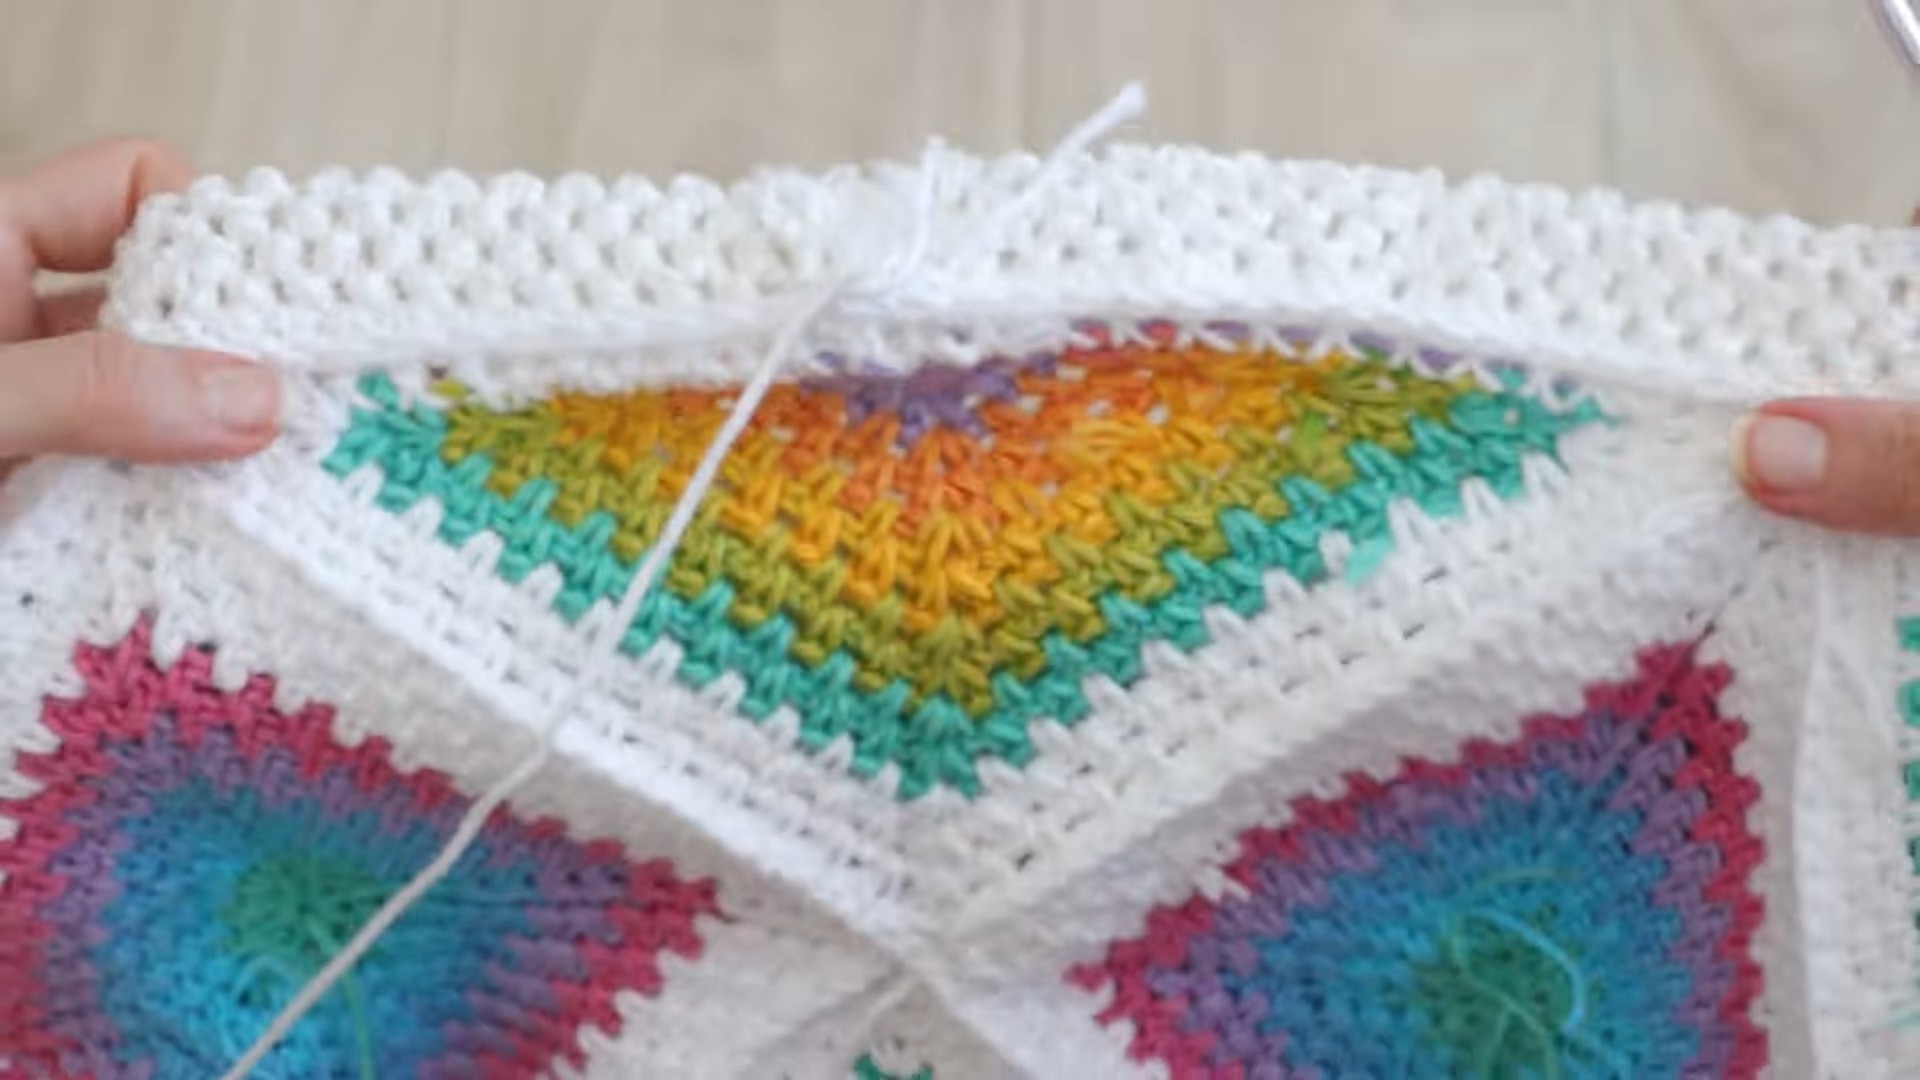
Seaming the Panels
- Back Panel:
- Arrange 6 squares around the triangle.
- Seam with SC joining method, alternating between front and back squares.
- Front Panel:
- Arrange 6 squares around the pentagon.
- Seam similarly to the back panel.
Adding the Waistband
- Measure and cut the elastic ribbon.
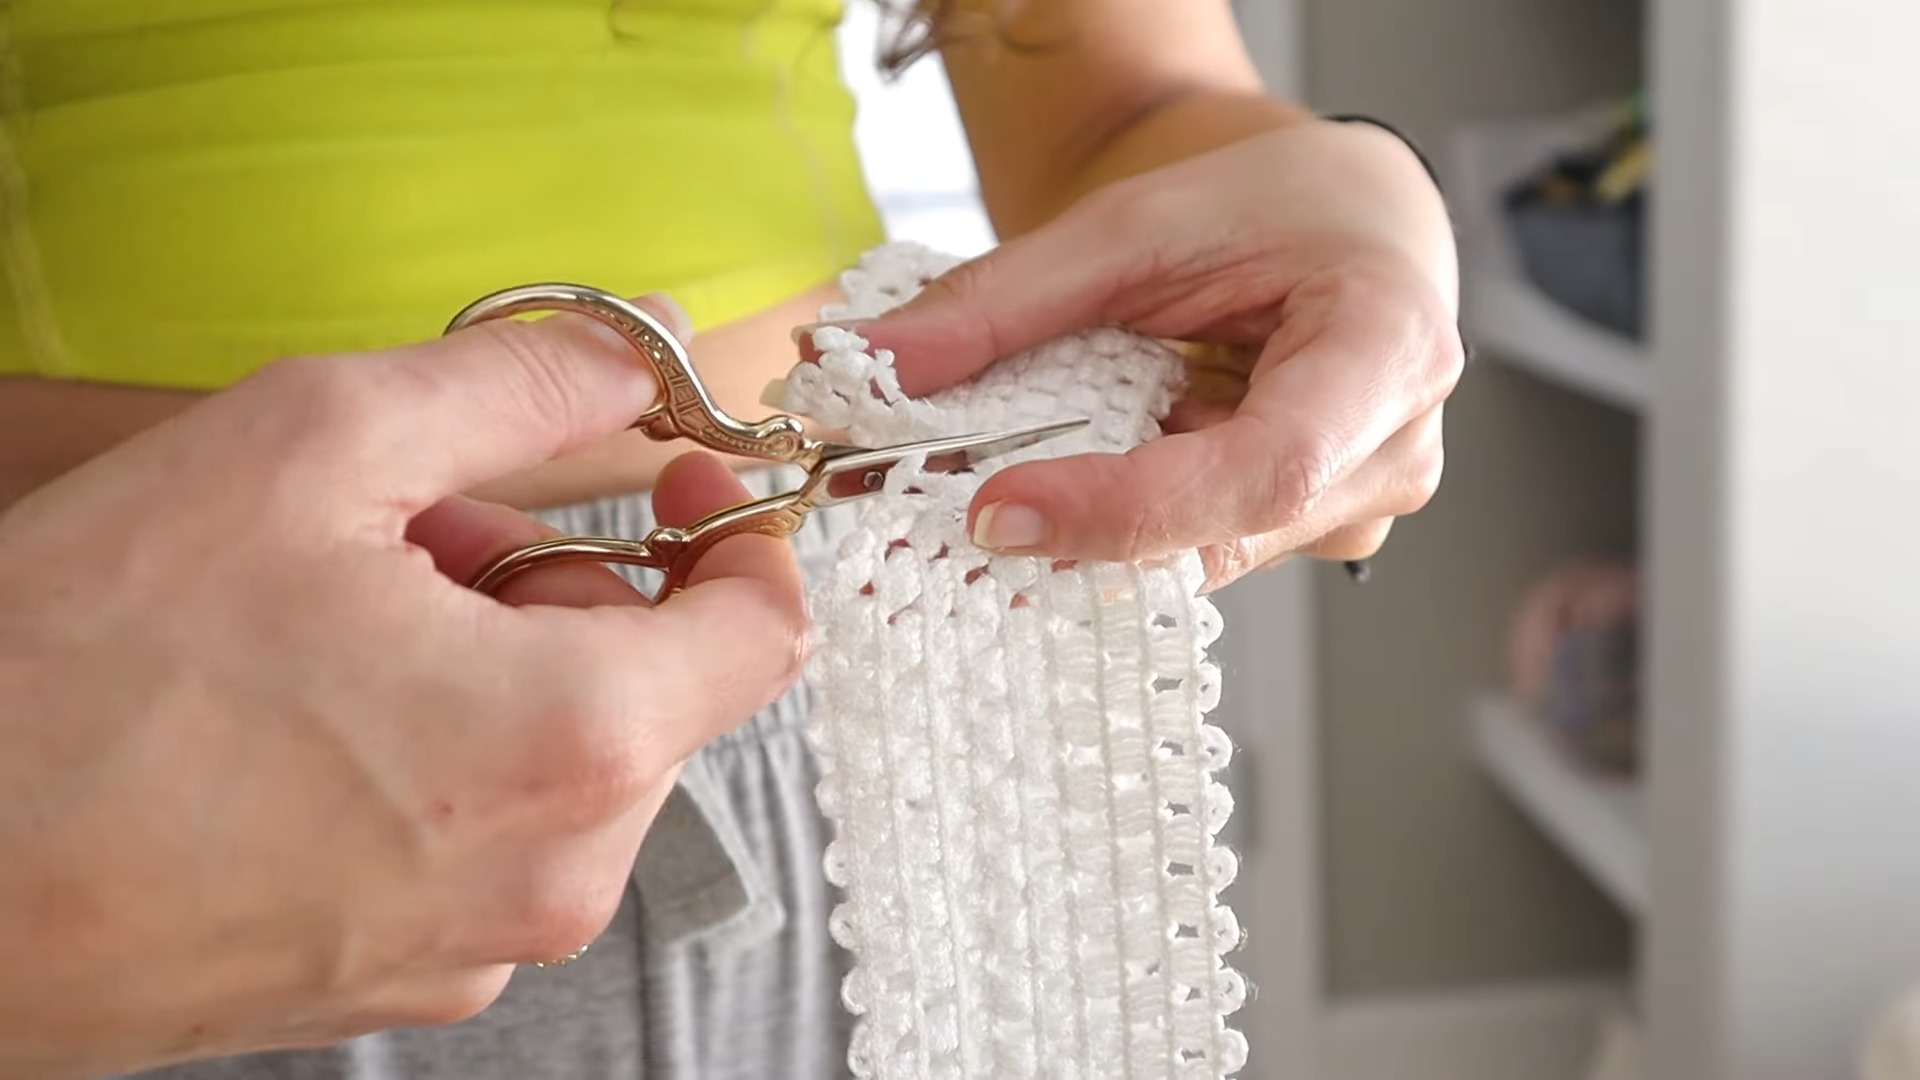
- Seam it into a round shape.
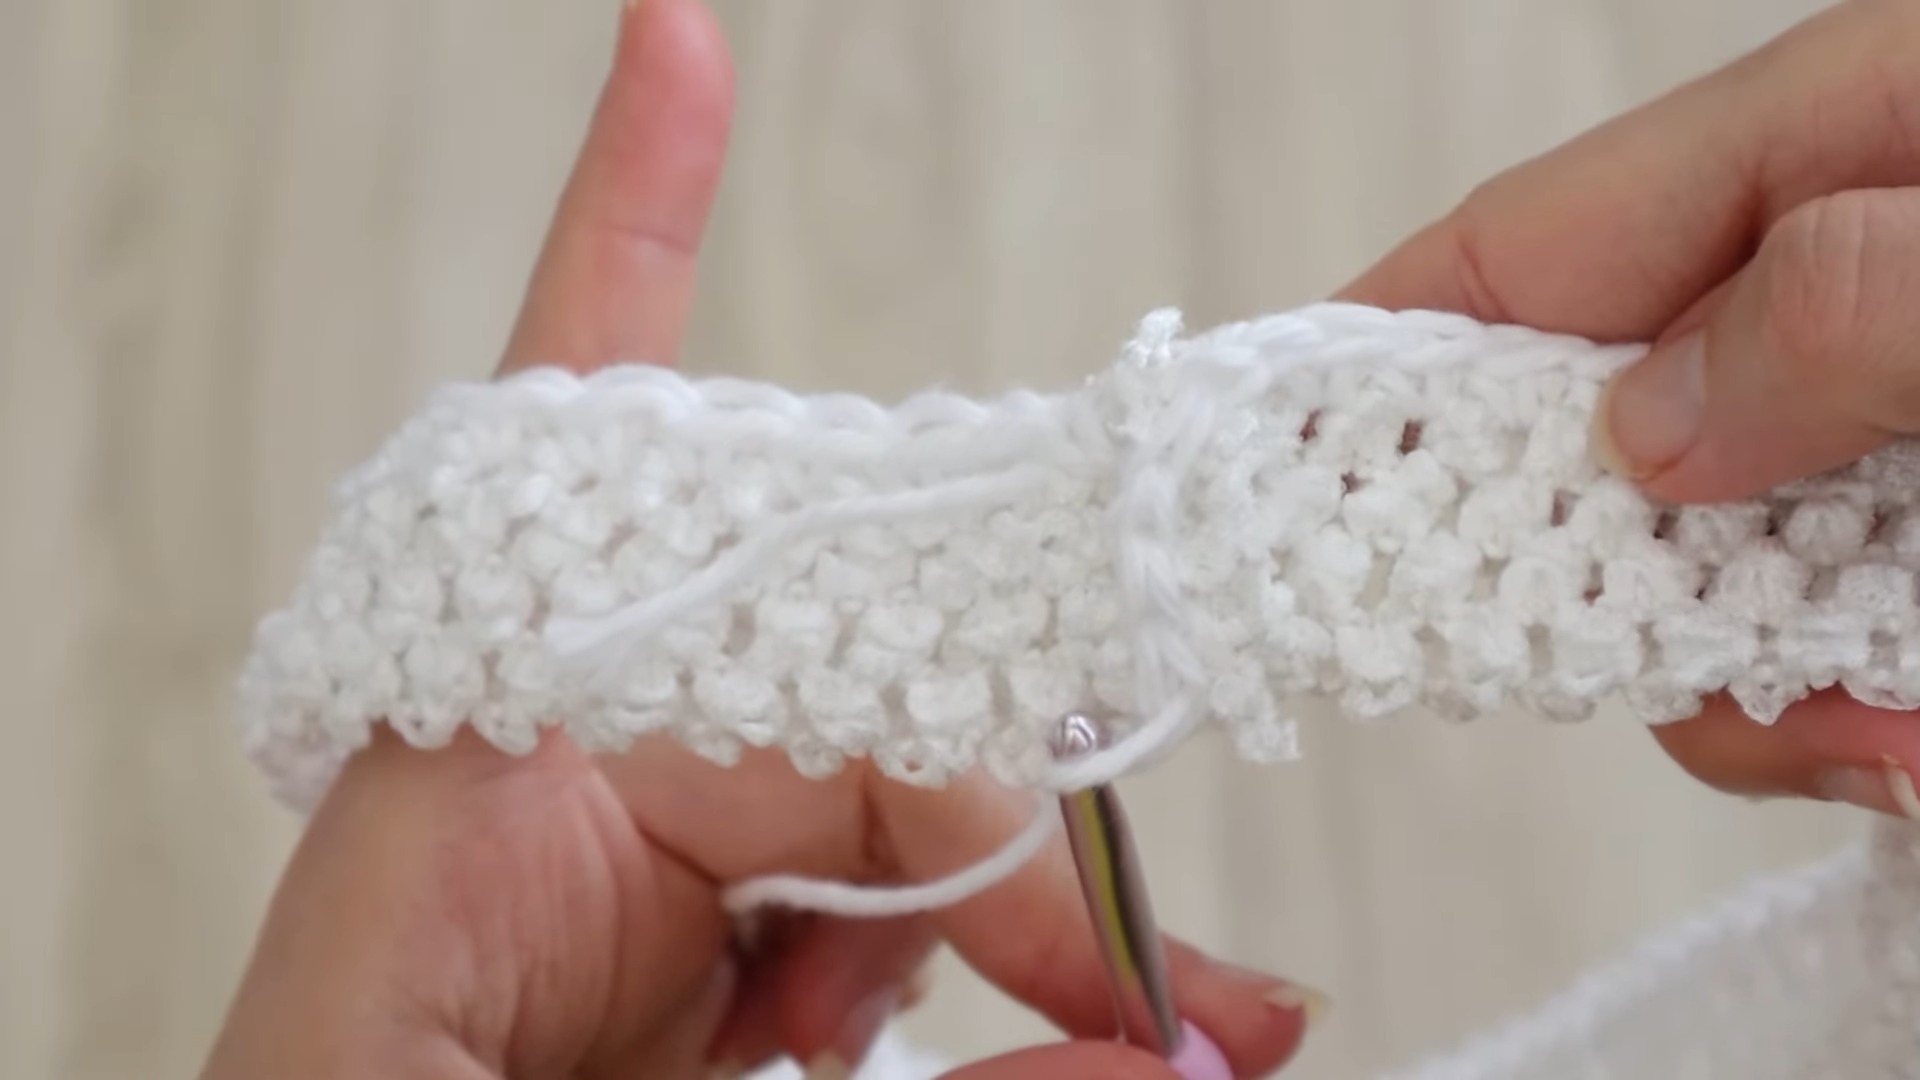
- Attach the shorts to the waistband using SC, accounting for stitch differences.
Size Adjustments
- Vary the number of rounds:
- XS: 13 rounds (6”), S and M: 14 rounds (6.5”), L and XL: 15 rounds (7”).
- Add or reduce hip rows as needed.
- Check fit and adjust using additional stitching at waistband or hip.
FAQ Section
Q: What if the shorts are too tight after completion?
A: Add extra rows at the hip seams until the desired fit is achieved.
Q: How can I ensure my waistband is not too tight?
A: Adjust by seaming with enough give in your stitches to allow the elastic to stretch naturally.
Q: What are some alternatives to the elastic waistband?
A: You can add 8-10 more rounds of linen stitch, fold it over, and add a drawstring.
Conclusion
In conclusion, these Crochet Granny Square Shorts are a perfect blend of creativity, fun, and practical wearability. With their unique design and playful colors, they’re sure to be a hit. Embark on this delightful journey to create a piece that’s not only a joy to craft but also immensely satisfying to wear. We’d love to see your creations—share your finished projects and any variations you make. Happy crocheting!